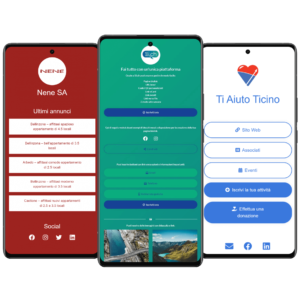
If you have just registered at 1li.ch and started experimenting with biolink pages, you may be a little lost among the many options available to you.
This guide will try to guide you and provide some useful hints for creating your page. Once you get the hang of it, subsequent changes (and any additional pages) will be much easier to make.
Please note that the main functions and settings of the pages will be listed; however, not all features are available in all plans. If a feature is not available in your plan, you will see a corresponding notification. You can upgrade to a higher plan at any time to take advantage of expanded features and limits.
Creation
First, you must create your biolink page by clicking on the “Bulletin Board” link in the main navigation, then on “Create Link” and finally on “Biolink Page.”
The system will show you a screen where you choose your basic domain (your choice of 1li.ch, 1ly.ch, 1li.bio, and 1li.it) and enter your alias (if you are on the free plan you will be assigned a random alias instead). Choose an alias that is easy to remember, such as your name, your company name, the username you use on social media, your domain name, or a fancy name that is not too complex.
For example, if you create a biolink page for the company “Fiorista Bianchi SA” and have the domain name fioristabianchi.ch, as well as the username “fioristabianchi” on social media, it may be a good idea to use “fioristabianchi” (or a similar variation, depending on availability) as an alias for your page as well.
Settings
After creating your page, you will see the settings screen.
You can change the base domain and your alias later and customize your page with the settings listed below.
- Customization allows you to define the overall appearance of your page: you can change the background (by applying a color, a gradient, an abstract gradient, or a background image or video) and you can insert a favicon, which is the square icon that appears in the browser tab when you load your page (or when you save your page to favorites or to your phone’s home screen).
- Verified allows you to request verification of your page: once verified, a “Verified User” badge will be displayed on your page (either at the top or at the bottom of the page, if you choose), and the page will also be added to thelist of verified pages that are highlighted to get more views.
- Branding allows you to show or hide the brand and to customize it by inserting your own text and links (e.g., “Created by Fiorista Bianchi SA,” with links to the fioristabianchi.ch website).
- SEO allows you to optimize the indexing of your page in search engines: if you wish, you can hide the page from search engines, or you can improve indexing by including a custom title and description, as well as an OpenGraph image, which is especially useful for sharing the page in social media (where the image in question will be shown instead of an image deemed appropriate by the respective social network).
- UTM Parameters allows you to define a means and source for UTM parameters to be exploited for the page: these are tracking parameters added to the end of links, with the purpose of tracking clicks made by visitors (if you don’t know what this is about, you can ignore this tab).
- Font allows you to change the font and its size.
- Protection allows you to block access to the page with a password and display a notice of sensitive content (requiring confirmation from the user before the page can be accessed).
- Advanced allows you to add the page to a project, define a leap link (redirecting users to that link instead of loading the biolink page) and add custom CSS/JS code.
As you can see from the list, you can safely ignore most of the settings, focusing only on those that are of interest to you. In order to give your page a personalized touch, it is advisable to make the following settings:
- Choose the basic domain name that best suits you.
- Define an alias that represents you and is easy to remember (as short and easy to spell as possible).
- Choose a background that matches your image (personal or corporate).
- Insert a favicon with your logo or a part of it (if you have one).
- Consider whether you would like to have your page verified (adding credibility through badging and visibility through listing).
- Optimize SEO with a custom title, description and image (or hide the page if it is private content or needs to remain hidden).
- Choose a font that matches you and a text size you like.
Blocks
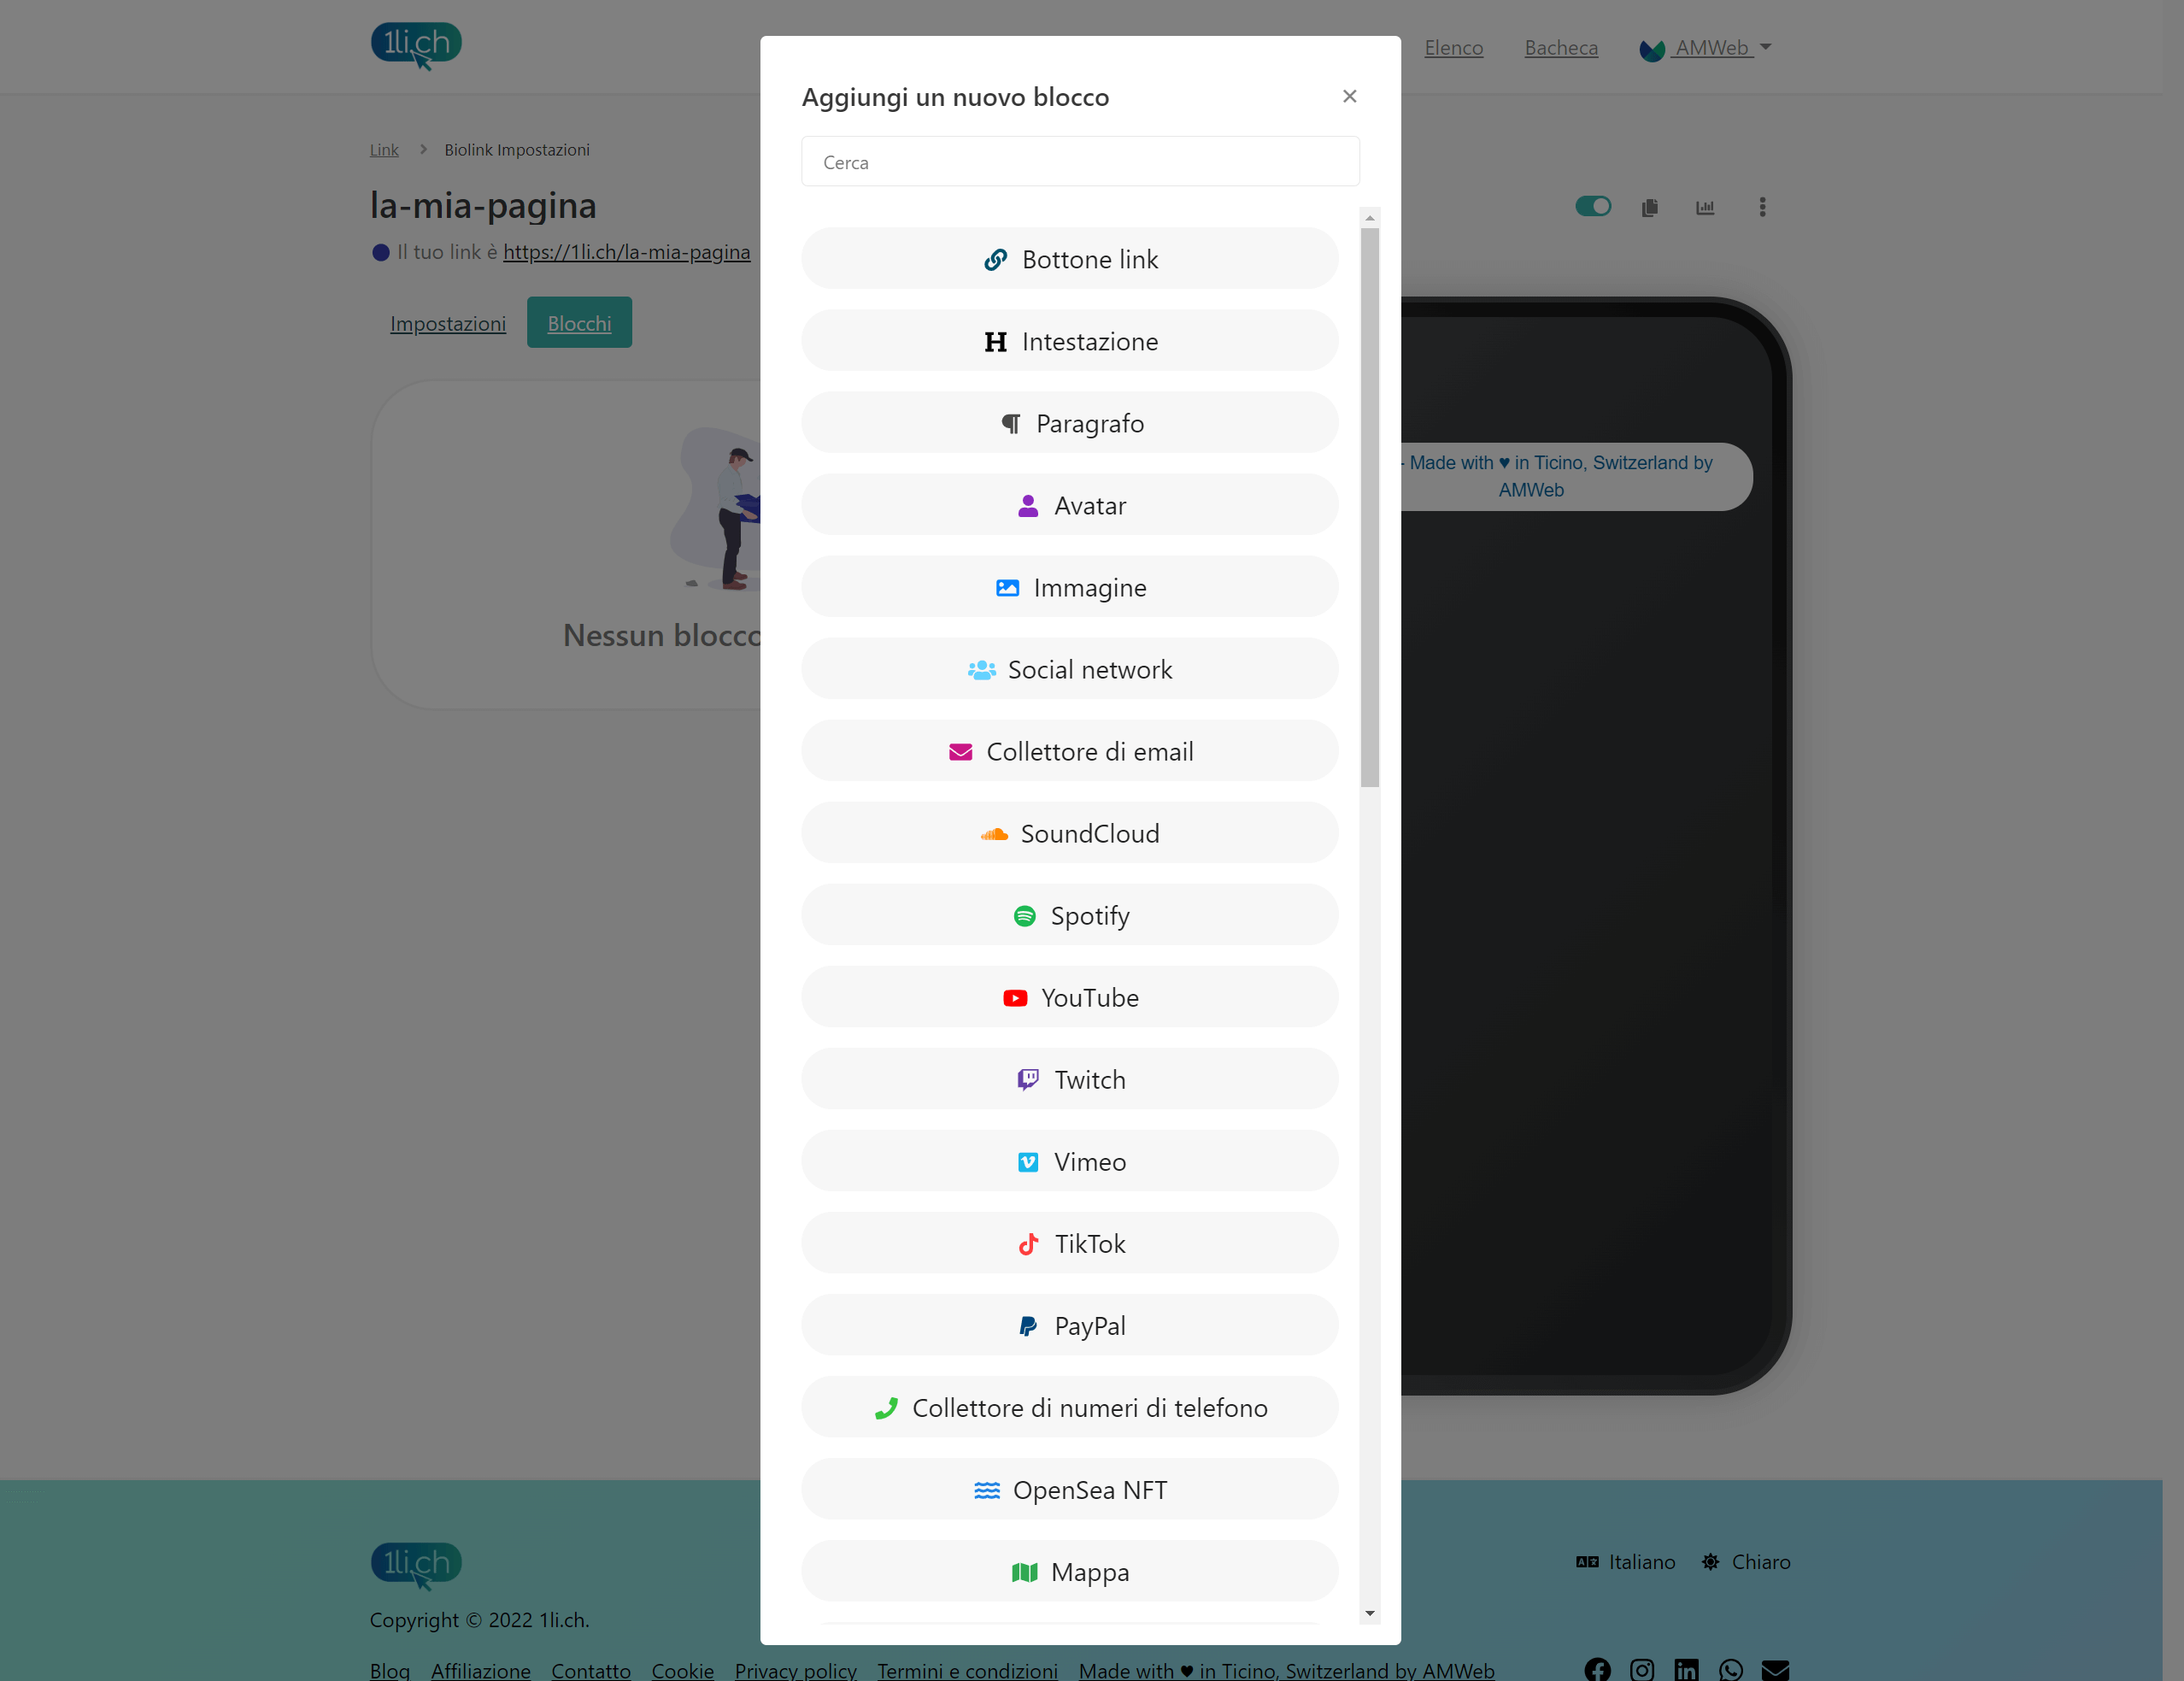
In the Blocks tab you can choose from the available blocks the ones you want to include in your biolink.
You can find an explanation for the various blocks available in the Frequently Asked Questions, under the heading Blocks.


No comment yet, add your voice below!